Attaining more speed on your bike through the simple act of upgrading your sprockets.
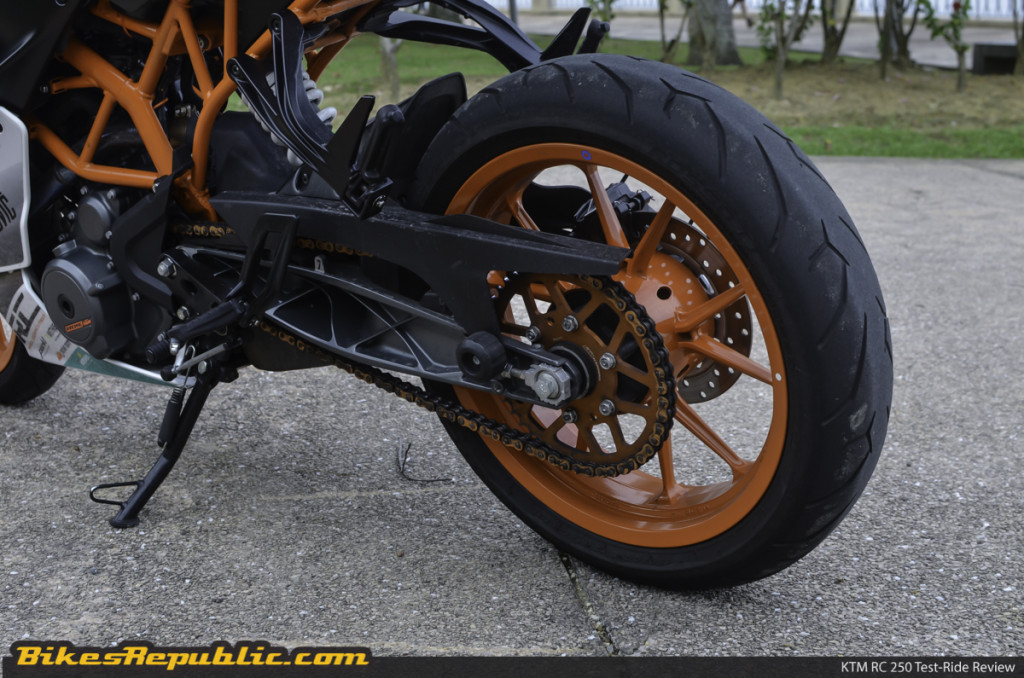
OE sprockets are generally made of steel due to lower cost (of materials and method of production), and longevity – steel wears less and can do more road miles in bad weather than alloy, but steel is heavier.
Good steel sprockets will be heat treated to change the hardness. If not done properly the sprocket can end up brittle. Induction hardening (heating an electrically conducting object by electromagnetic induction), can be used to control this process. The sprockets are then tempered to produce the correct level of hardness required for efficient power delivery and durability. To sort out any distortion that may occur, they are put then through a flattening-type machine.
Machining involves the sprocket’s teeth and outside diameter being cut at the same time, which ensures the teeth are concentric to the sprockets centre. Normal OE max run-out is at 0.5mm.
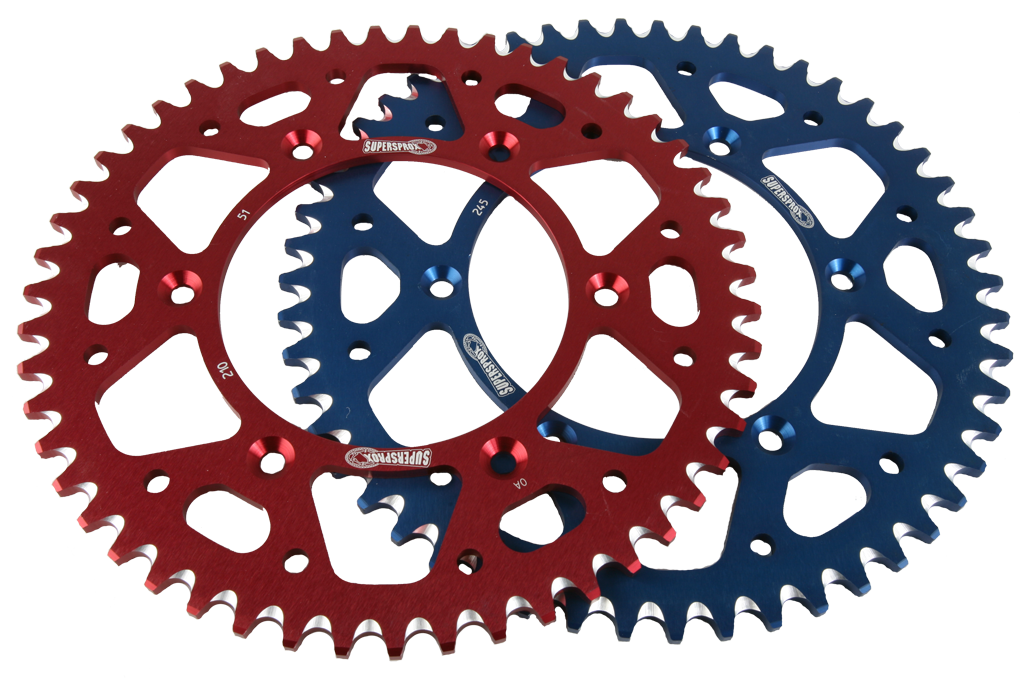
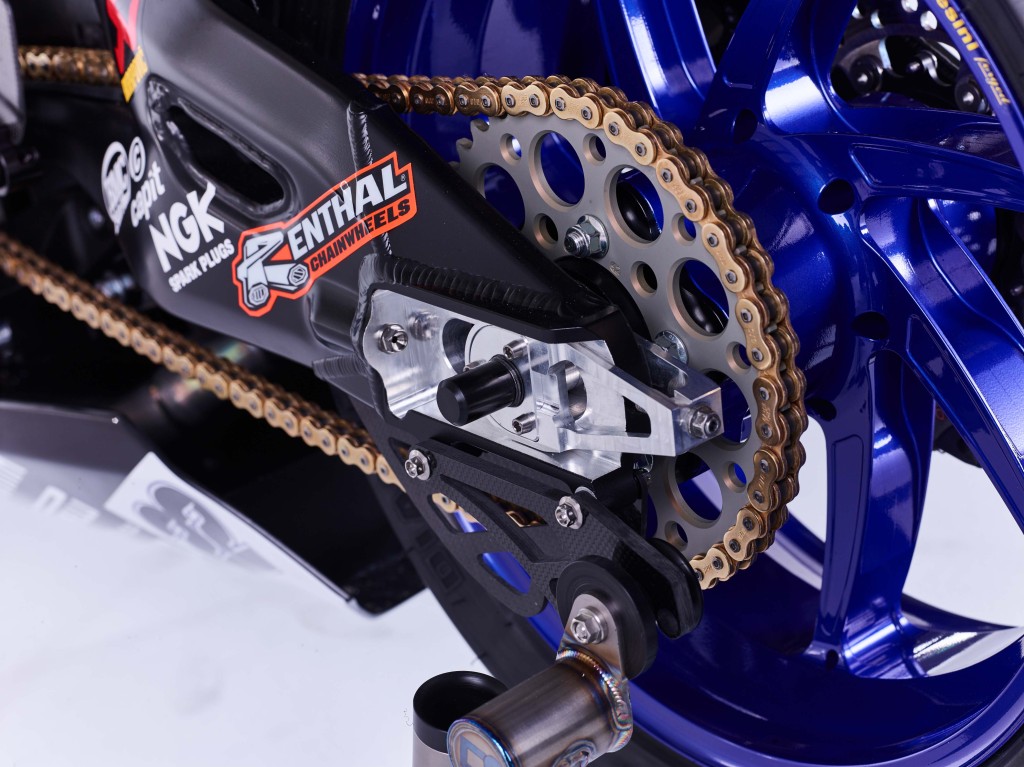
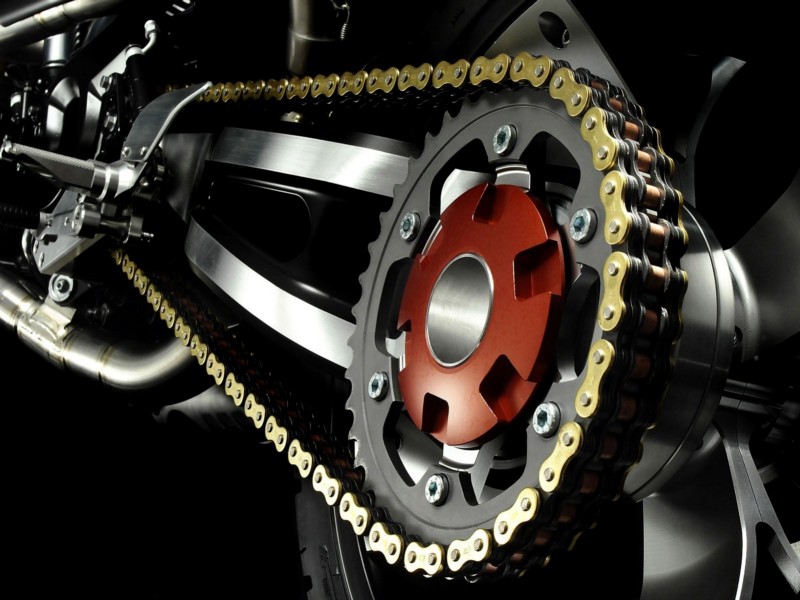
Aftermarket aluminium alloy sprockets are used primarily for weight-saving properties. It can be a 1/3 lighter than their equivalent steel counterparts whereas race ones are even lighter. Decent alloy sprockets are normally made from heat treated 7075-T6 aircraft grade aluminium. They can be hard anodized for corrosion resistance and durability which is a must for road usage.
Even if surface anodized, the alloy sprocket’s subsurface still has to carry load and still deforms faster than steel. One solution is to have a hybrid sprocket like Supersprox which mates a steel sprocket outer rings to alloy hubs.
The Supersprox’s inner section is made from CNC-machined aerospace aluminium and coated with a film of organic based anti-corrosion material. This claims to prevent oxidisation which causes pitting, and ensures your sprocket will not come loose on the wheel hub.
However, it’s worth noting these two separate parts (steel and alloy) still have to be joined together in some way (usually riveted), rather than traditional sprockets that are just one machined piece of metal.
Top Tip: Always replace your chain when replacing sprockets and vice-versa.
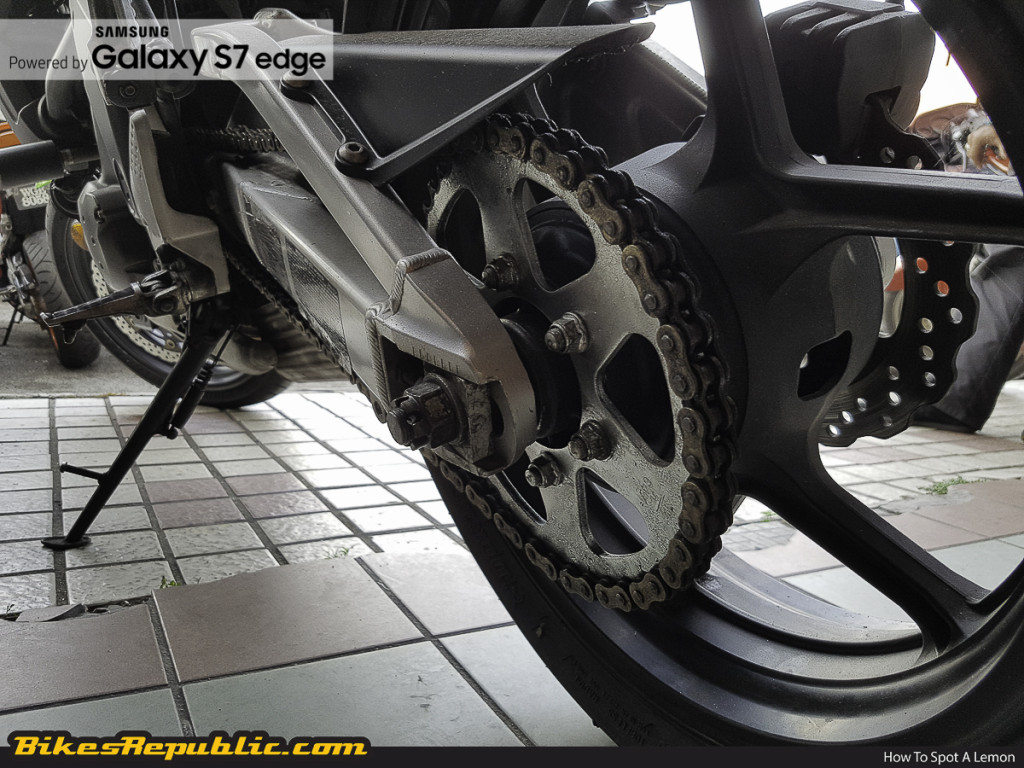
The chain rollers / sprocket teeth are designed to mate and wear together. Dor example, if you use a worn chain and new sprocket together, it can quickly wear down the sprocket. Misalignment is indicated by wear on the side of the sprocket teeth, which will lead to reduced chain life. A chain can develop tight joints because the sprocket teeth are forcing the inside plates outward on the bushings, and then binding the joint.
Why change your gearing?
Reducing gearing (down on the front sprocket or up on the rear), increases acceleration and reduces top speed. Increasing gearing (up on the front sprocket or down on the rear), gives more top speed, a taller first gear, relaxed high-speed road work use and possibly better fuel consumption.
The most common gearing mod is to drop a tooth on the front, but this could be too much for the road or 600cc and lower capacity bikes. One tooth on the front roughly equates to just under three teeth on the rear. One or two teeth up on the rear may be a better starting point.
If you drop below 15 teeth on the front (road use) then you’ll have a very tight chain run, which will increase chain wear. If you drop more than one tooth at the front, you may need a shorter chain. Bigger rear sprockets may also need longer chains (definitely if going up three or more teeth).
Lower your gearing too much and you could find your 0-100km/h sprint times are affected by having to change up a gear when before the mod you didn’t have to. Poorer fuel consumption can also be a side effect, and gearbox-driven speedos won’t be accurate – check your bike as some have wheel driven sensors so won’t be affected. On the bright side, your bike will feel much more responsive in each and every gear.
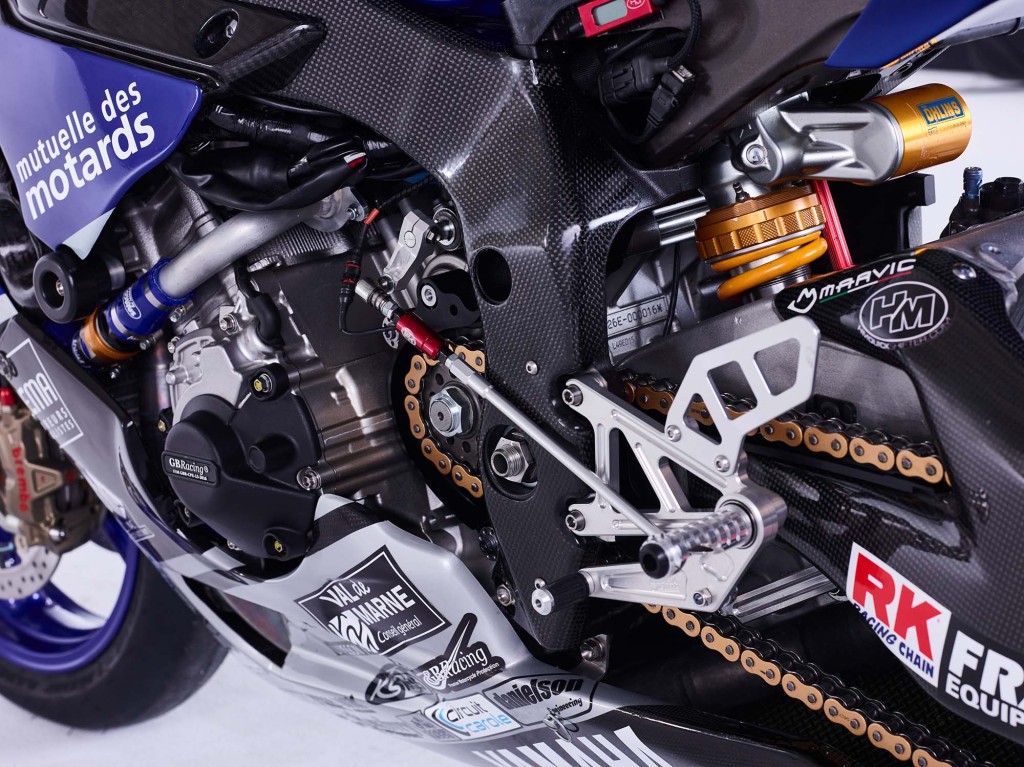
One other reason people change the front first is because it’s way cheaper but it’s a lot more hassle than changing the rear. Think about it – you’ve got to take off the front sprocket cover, undo a big nut, get a friend to hold the rear brake down while you undo it, take the back wheel out, then change it and put everything back.
Changing the rear sprocket is much quicker – take the back wheel out, unhook the chain, put new sprocket in (same as changing the wheel). Changing the front is not something you can easily do between track day sessions and have plenty of time to do other things too.


